2.1 Open the UVnormap file in Gimp. Btw. Blender will append the name of the mesh object to the name of the uv map so mine is named UVnormap_Plane.tga.
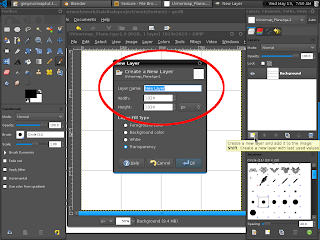
2.2 Create a new layer where we will draw the texture.
2.3 Draw textures. I did mine with black, white and grayscale. But you can use color, I'm just not sure how the normal map plugin will interpret it. You can actually use photo textures.
2.4 To study the effect of using different gray tones I drew solid lines on half the plane using Circle brush 19 (21x21). And on the other half, fuzzy lines with Circle fuzzy brush 19 (21x21).
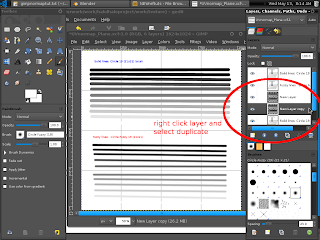
2.5 After you've drawn you're texture click on menu->Filters->Map->Normalmap.
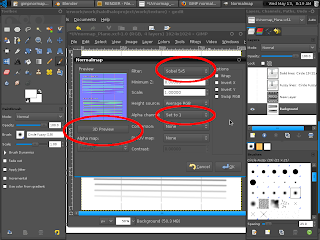
2.6 A dialog box will appear. For my turtle texture I've set Filter: Sobel 5x5. And set Alpha channel to "Set to 1", although this might not have any effect. Supposedly it uses the value of a grayscale image (but my image is RGB since the normalmap plugin will not work on grayscale mode).
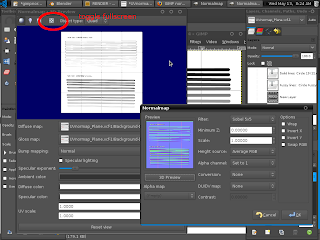
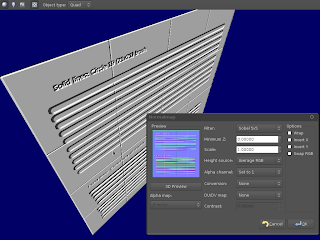
2.7 You can preview the effect of the normalmap by clicking "3D Preview" button. A window will appear which you can toggle to fullscreen. You can grab and turn around the preview to look at the effect by right clicking and dragging the image. You can changed settings and the preview will reflect the changes. When your happy with the effect click "OK". Your drawn image should turn blue.
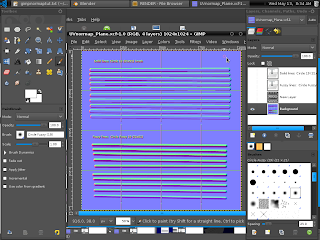
2.8 So you can edit your map again save as an .xcf file first. Then click File->Save A copy... . Give your normal map image a .tga extension. Mine is named UVnormap1.tga
Note: Remember that you can also change the height of the bump or depression in Blender, and you can even invert it later on, so you don't really have to tweak too much here.
That's the end of step 2. We now have a normal map, we can use in Blender.


No comments:
Post a Comment