3.1 Go back to blender or reopen your previous blend file.
3.2 Hit F5-key or Shading button. Then click on materials button.
3.3 Add a new material to your mesh. I renamed mine "normapMAT"
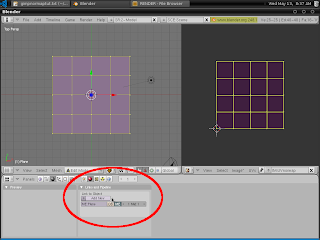
3.4 Hit F6-key or Texture button. Add a new texture.
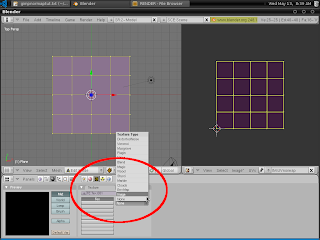
3.5 Under texture type select "Image"
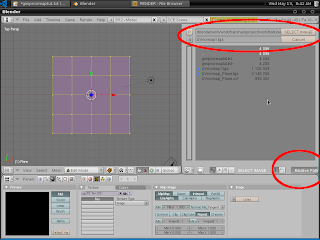
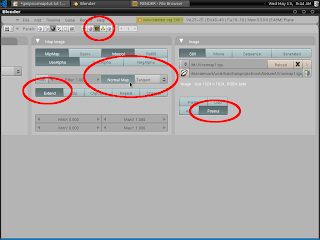
3.6 In the image buttons group, click on the load button. One of the blender windows will turn into a File browser. Select your normal map e.g. UVnormap1.tga. It's a good practice to turn on "Relative paths". Click the "Select image" button.
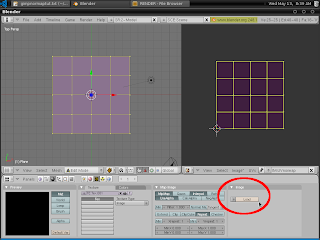
3.7 In the "Map Image" buttons group. Enable "Normal Map", then select "Tangent". I also enabled "Extend" and under "Image buttons" "Premul".
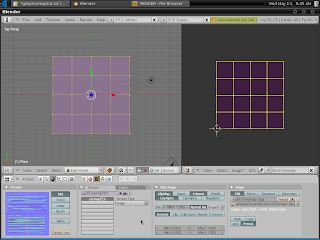
3.8 Go back to the materials buttons (hit the button with red sphere). Click on the "Map To" near the Texture tab. Disable "col" and enable "nor" (Text will turn white if enabled and black disabled, yellow if inverse)
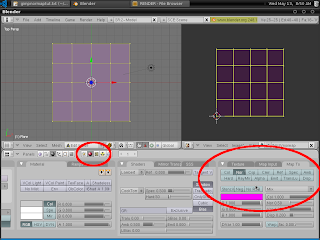
That's it. Hit F12 and render your results. Make sure you have a camera and lights.
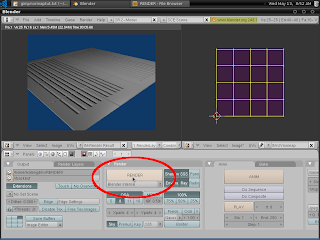

Rendered result
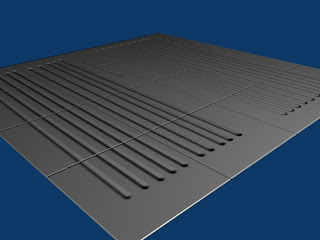
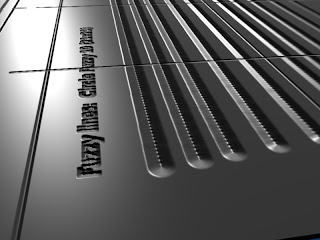
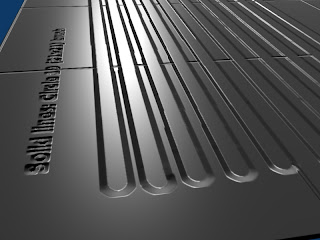
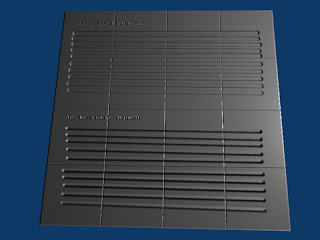
Blend File
http://www.mediafire.com/file/1340t0mtvvd/normaptest.blend.zip (263.23 kb)
Links
Cocidius' info on the normal map plugin


1 comment:
Nice tutorial.
Was very helpful for me.
Thanks.
Post a Comment